|
The goal for this week was to convert our current JSON data to JSON-LD. I had watched some videos earlier in the semester that covered JSON-LD, and I had thought the process of converting JSON to JSON-LD would be quick and simple. I began researching JSON-LD's documentation to better understand how JSON-LD works. I found a really helpful resource that covers JSON-LD's syntax. After looking through this syntax, I realized this task would not be as simple as I thought. However, there is an aliasing feature that can allow me to map keywords in my current JSON documents to JSON-LD context keywords. I will need to test a subset of the data we have gathered to ensure I am able to successfully produce valid JSON-LD from pre-existing JSON data. I was not able to work on the conversions this week, because I spent a majority of my time building our Rails app. I had developed a Rails website for personal use, and I had already chose a cloud hosting service named Heroku for my personal site. Since I had the background knowledge of setting up a Rails app on Heroku, I chose to setup our Real Estate app the same way. I chose to Heroku's cloud hosting service, because it really makes managing and deploying apps easy (also, because they offer a free plan). I was able to build the skeleton for our web-app and deploy it via Heroku. Once the app was live, I began working on how we would manage our site. I connected the Github repo that houses our app to Heroku, and then setup automatic deployment. Anytime someone pushes to our master branch, the changes will automatically get deployed. Deploying this way is really useful for team oriented projects, because there is one central location for our source code. Heroku has it's own standalone client to manage your repo, but this can cause issues if Github and Heroku become out of sync. Also, I was able to setup Travis CI (Continuous Integration tool) to run tests before any changes to the code gets deployed. Since this is a Ruby on Rails app, it cannot be viewed locally in a browser like a standard html site. The only way to get a visual of any code changes was to deploy the changes. This is generally not good practice, because it's a live site. We need a way to test and view our local changes before deploying. To get around this issue, I was able to setup a development environment that allows you to run the rails server command that allows you to view the site the "localhost". I would like to add more Travis CI tests to run against any pushes to our master branch, but I am not familiar with the different tests for Ruby on Rails apps. This is not a priority, so I will look into this during my downtime. Now that we had the site up and running, and we now have a development environment, I decided to create a new branch to play with the design. I have been wanting to try out Google's material design framework, and this was a good opportunity to do so. I used the design prototype Julie put together as a source of inspiration for the layout. This framework allows you to easily create responsive websites that work across many device sizes through graceful degradation. The images below is what I currently have on the material-design branch. It is a basic responsive landing page. Once we finalize on a design, we can work on dynamically loading conent: Large Screen Display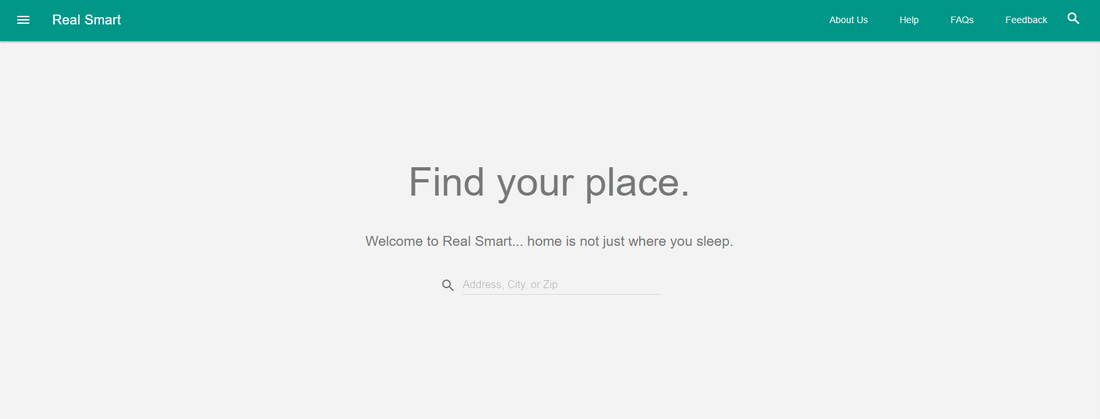 Graceful Degradation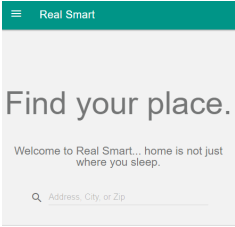
5 Comments
3/31/2022 09:44:59 pm
I very much appreciate it. Thank you for this excellent article. Keep posting! 12/20/2022 10:59:05 pm
İnstagram takipçi satın almak istiyorsan tıkla. 1/8/2023 03:35:27 am
100 tl deneme bonusu veren siteleri öğrenmek istiyorsan tıkla. 6/30/2023 05:36:58 am
En iyi giresun ilan sitesi burada. https://giresun.escorthun.com/ Leave a Reply. |
CategoriesArchives
May 2016

|
 RSS Feed
